Wednesday, 9 November 2016

WATER LEVEL & TEMPERATURE DETECTOR FOR FISH POND


By : Fatimah Nur Mohd Redzwan, Mazratul Firdaus Mohd Zin, Hamzi, Fasihah, 
Asyraff Fahmy

Overview

This project proposed a system that can observe the water level and water temperature for the fish farming industries. In this project, the fish pond is used as the prototype to observe the output in term of water level and temperature. This prototype detector consists of several components such as Arduino Uno Atmega328p, float switch, water pump, buzzer and etc. The observed output parameters are water level and temperature.


Methodology

Water Level and Temperature Detector for fish pond will maintain the water level and the temperature of water. The project starts with an empty pond until the suitable water level for pond is reached while controlling water temperature in the pond. The float switch is used to control and maintain the water. This project also can detect the temperature of the pond by using temperature sensor (DS18B20) by Arduino circuit. The buzzer will sound once the temperature exceeds the limits.


Prototype & Results


Figure 1: The prototype of Water Level & Temperature Detector


Figure 2 : Back view of the prototype


(a) Water level= 25%,   LED : ON

     (b) Water level= 50%,   LED 1 & 2 : ON


(c) Water level= 75%,   LED 1,2 & 3 : ON

(d) Water level= 100%,   ALL LED : ON
                                
Figure 3 : The result of water level and temperature detector of fish pond shown on LED

SMART QUAIL EGGS INCUBATOR  (SQEI)

By : Fatimah Nur Binti Mohd Redzwan, Mazratul Firdaus Mohd Zin,  Mohd Nazri, Ikhmal, Elena


OBJECTIVES

  •  The purpose of this project is to design and develop the system of an egg incubator that is able to incubate quail bird named as Smart Quail Eggs Incubator (SQEI) System
  •  To build an incubator with automatic controlled temperature and humidity by using Arduino Atmega328


METHODOLOGY

The SEI incubator is consists of temperature and humidity sensors that can measure and observe the condition of the quail eggs. In this project, the DC bulbs are used inside the incubator prototype to provide the suitable temperature to hatch the quail eggs (35 degree Celcius). Some amount of water and fan controller is used to maintain the humidity and ventilation of the incubator. The DHT11 (humidity sensor) is connected to Arduino Atmega328p (microcontroller) to detect the humidity and temperature's level inside the incubator and the results is then displayed on the LCD screen. The Digital Thermostat (W1209) is used to process the data from the sensor and control the heating and cooling element to change the condition of the DC bulb to be turned ON or OFF. In addition, the 12V DC fan is added to regulate the air inside the incubator to preserve the stable condition throughout the hatching process.

TH
The prototype of Smart Quail Eggs Incubator (SQEI) 


Top view of Smart Quail Eggs Incubator

10-16 days until hatching


Tuesday, 1 December 2015

Market Survey on The Establishment of New Diploma Programme : Diploma in Electrical Engineering (Industrial Engineering)

Faculty of Electrical Engineering (FKE), Universiti Teknologi MARA Cawangan Terengganu Kampus Dungun has proposed to offer a new diploma programme : The Diploma in Electrical Engineering (Industrial Engineering). The duration of this course is 2 ½ years, which consists of 5 semesters and 1 short semester.
The course will be conducted based on ‘practical and application oriented session' basis, i.e. students get more exposure in conducting laboratory experiments, computer-aided learning process, assignments and practical workshop.


The details of the proposed curriculum for Diploma in Electrical Engineering (Industrial Engineering) are as follows:


 Summary of the Faculty Curriculum Structure based on semester.

Semester 1
Calculus 1
Introduction To Computer Aided Engineering
Engineering Physics
Circuit Theory 1
Introduction To Engineering


Semester 2
Calculus 2 For Engineers
Circuit Theory 2
Basic Computer Programming
Introduction To Measurement

Semester 3
Electronics 1
Signals & Systems
Digital System
Basic Communications Engineering

Semester 4
Control Systems
Electrical Machines & Power Systems
Electronics 2
Industrial Manufacturing
Programmable Logic Controller
Microprocessor Systems

Short Semester
Industrial training (Duration:8 weeks)

Semester 5
Industrial Safety
Industrial Manufacturing
Computer Control & Basic Networking
Pneumatic And Hydraulic
Final Year Project
Embedded System

We appreciate your time in completing the questionnaire and we can assure you that the information will be treated strictly confidential.

https://www.surveymonkey.com/r/TPCHGZ5

Create your own user feedback survey

Wednesday, 11 November 2015

GEMPAK SUPER FIZIK 2015

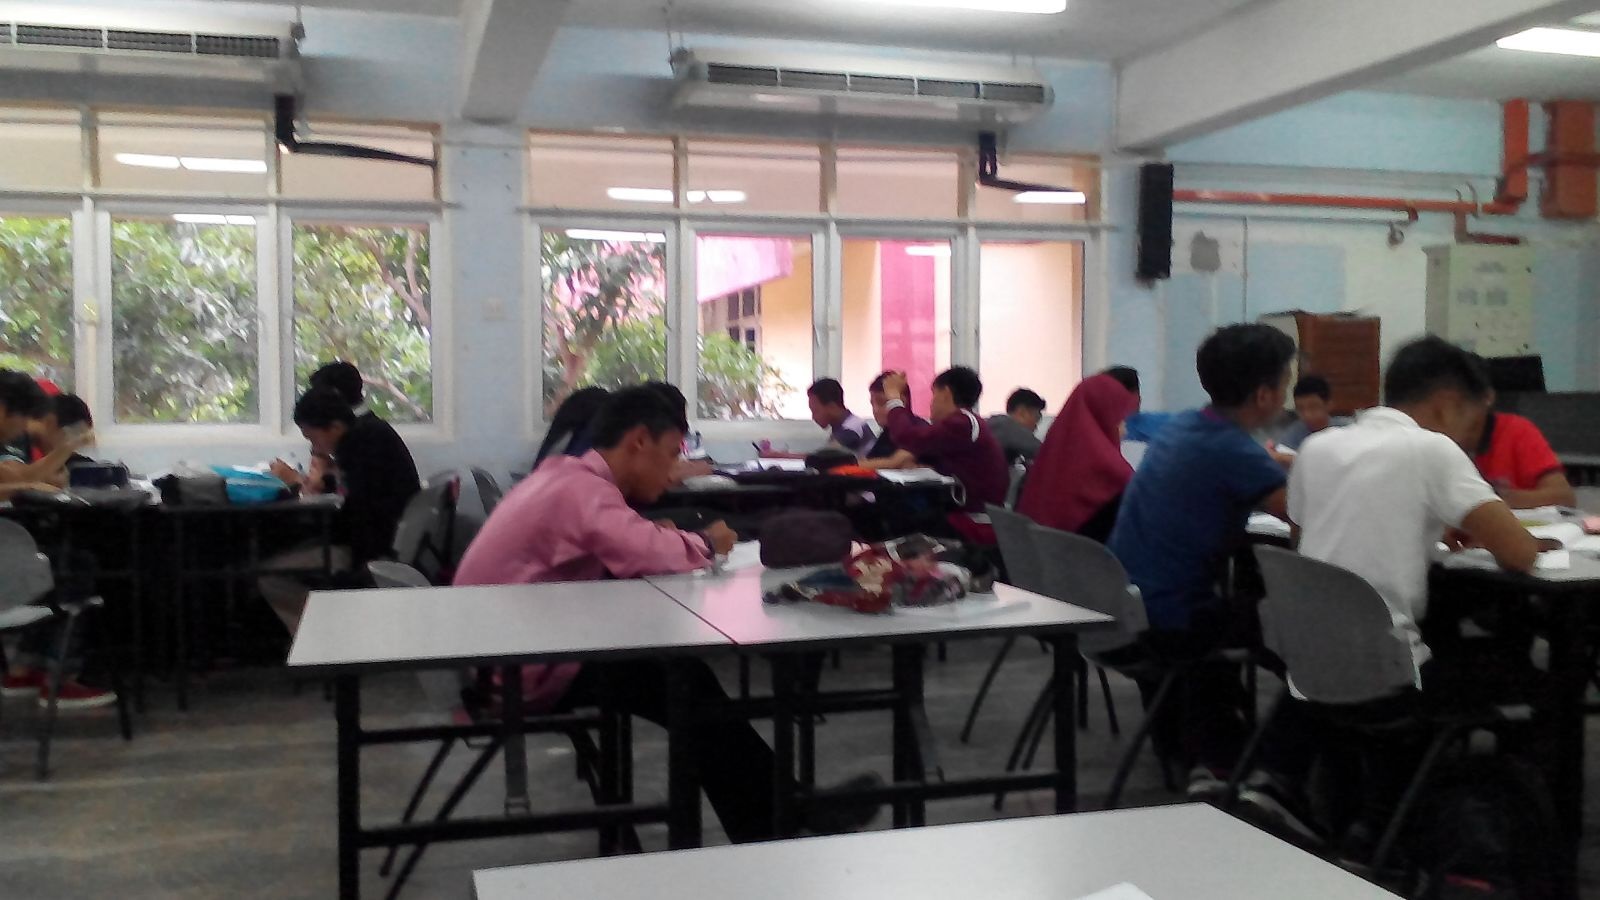
Pada 18 September 2015, Program Gempak Super Fizik 2015 telah diadakan bertujuan meningkatkan kualiti pencapaian bagi mata pelajaran PHY143 Fizik Kejuruteraan I. Seramai 120 pelajar telah terpilih dan terlibat dalam menjayakan dalam program ini. Program ini dikendalikan oleh pelajar-pelajar terpilih yang mengambil subjek PHY143 yang bertindak sebagai mentor dan dipantau oleh pensyarah yang mengajar PHY143. Seramai 15 mentor daripada kalangan pelajar cemerlang telah hadir bagi berkongsi kepakaran dengan rakan-rakan pelajar yang lain.
Program ini berlangsung selama 3 jam, iaitu daripada pukul 9.00 pagi hingga 12.00 tengahari di mana mentor berperanan dalam memberi tunjuk ajar kepada peserta dalam menyelesaikan masalah pembelajaran Fizik. Pembahagian kepada 15 kumpulan kecil dibuat bagi memudahkan proses pembelajaran dan perundingan berjalan dengan lancar.
Seramai 6 orang pensyarah bertugas memantau perjalanan perjalanan program iaitu Pn. Nurul Huda Kamarulzaman, Pn. Rafiza Abdul Rahman, Pn. Nurul Nazuha Arrifin, En. Baktiar Musa, En. Fadhli Dzul Hikmi Mohd Fauzi dan En. Saiful Baktiar Hashim. Pengisian program tersebut adalah mengkhusus kepada menjawab soalan-soalan peperiksaan akhir semester terdahulu.
Perundingan dan pemantauan yang berterusan kepada pelajar terpilih ini mendapat respon positif daripada semua pelajar terlibat, dengan rata-rata mengatakan bahawa program sebegini membantu mereka untuk mengulangkaji pelajaran dengan lebih konsisten. Diharap dengan adanya program akademik ini dapat memberi lebih pendedahan kepada para pelajar tentang cara belajar yang betul.


Disediakan oleh: Pn. Nurul Huda Kamarulzaman, Pn. Rafiza Abdul Rahman, Pn. Nurul Nazuha Arrifin, En. Baktiar Musa, En. Fadhli Dzul Hikmi Mohd Fauzi dan En. Saiful Baktiar Hashim.


Monday, 9 November 2015

IPv4 Subnetting

IPv4 address consists of 32-bit binary numbers and it is represented in decimal number such as 192.168.15.100. Each octet contains 8-bit, hence maximum numbers for each octet is 255. It is important as a network engineer to identify classes of IP address. Table 1 and Table 2 show IP address classes and the details of IP classes correspondingly. As mentioned earlier in the article ‘Introduction to IP Addressing’, we already know that the address 192.168.15.100 is a private address. ‘NAT’ or Network Address Translation in a router will convert private addressing to the real addressing.


From Table 1, we can identify that Class A contains the biggest amount of hosts compared to other classes. It means that Class A can support maximum 16,777,214 hosts. How do we get this number? The host portion for Class A is 24-bits. Thus, 224 = 16,777,216. However, we have to subtract two from it due to the value of broadcasting and network addresses. Then, we can get maximum hosts for Class B and C are 216­-2 and 28-2 correspondingly. Broadcasting address is an address which consists all ones in host portion, while network address is an address that consists all zeros in host portion. From Table 1 also, we can identify that Class C contains the biggest number of subnets compared to other classes. For Class A, we get the value of subnets with 28-1-1=127, Class B 216-2=16,384 and Class C 224-3=2,097,152.

Figure 1 is an example of the network for Class B. As a network engineer, we know that 131.108 is the network portion and the rest are the hosts’ portion. However, the host portion is used for subnetting to create more subnets within the network. 131.108.3.0, 131.108.2.0 and 131.108.1.0 are represented as network addresses for each LANs. We can assume that the first octet for host portion is used for subnetting. Default subnet mask for Class B is 255.255.0.0. For this network, it changes to 255.255.255.0 because of the first octet of host portion is used for subnetting. Figure 2 shows the Class B which is used for subnetting.

Subnetting is a technique where network administrator borrows bits from host portion to create subnetworks (subnets). Followings are the rules of borrowing bits from host portion:
                                i)            Class A address consists of 24 host bits:
We can borrow between 2 to 22 bits for a subnet ID.
                               ii)            Class B address consists of 16 host bits:
We can borrow between 2 to 14 bits for a subnet ID.
                             iii)            Class C address of 8 host bits:
We can borrow between 2 to 6 bits for a subnet ID.

If we are given the IP address with subnet mask, we can get the Network Address by ‘AND’ed both addresses. For instance, an IP address is 131.108.2.2 and the subnet mask is 255.255.255.0 (same example as before). Figure 3 is the solution to get the network address. Finally the network address is 131.108.2.0 and we can easily get the broadcast address that is 131.108.2.255. We can list the first host address until the last host as follows:
First host : 131.108.2.1
2nd host: 131.108.2.2
Last host: 131.108.2.254

For this network, we can list other subnets as shown in Table 3.

Let’s take a look at this example shown in Figure 4. IP packet destination is 130.29.5.7. Because this address is of Class B, it routes to address 130.29.0.0. Within the 130.29.0.0 network, we route to 130.29.X.0 where X is the subnet. This is done by using a subnet mask which extends the range of bits representing the network. Only the router with network address of 130.29.5.0 will share the information with the adjacent routers so that the packet can be delivered to its destination as illustrated in Figure 5.


Reference:

Prepared by:
Siti Sara Binti Rais